RV12Info.com
Note: If you ever had an Erector Set, you can relate very to the RV-12 kit. 99 percent of the parts are pre-cut, pre-bent, and pre-drilled. Other than deburring, the parts just get fastened. So, I am calling this project:
Alan’s Flying Erector Set
----------------------------------------------------------------------------------------------------------------------------------------------------------------
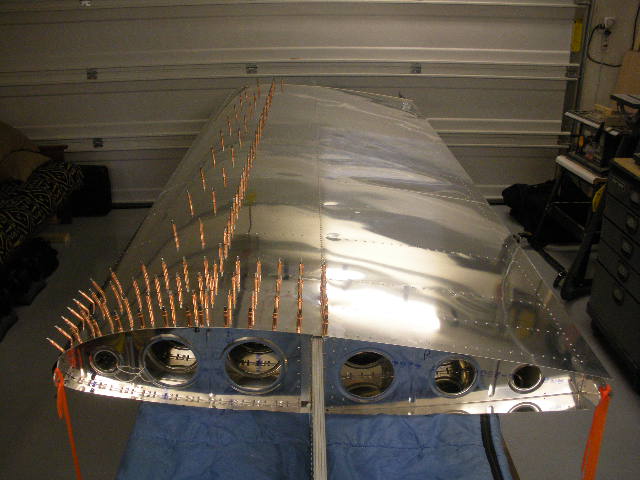
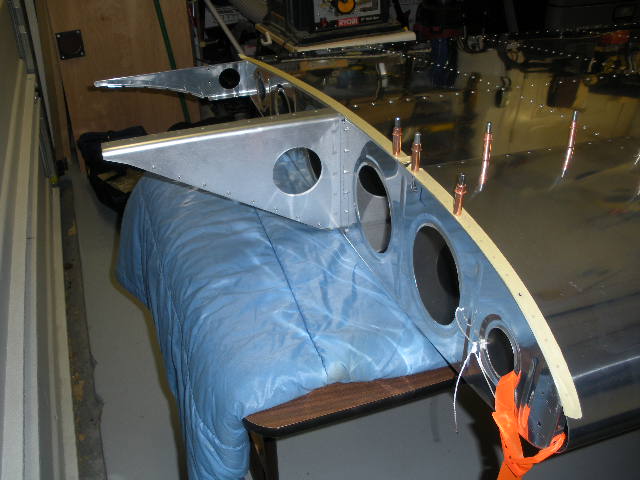
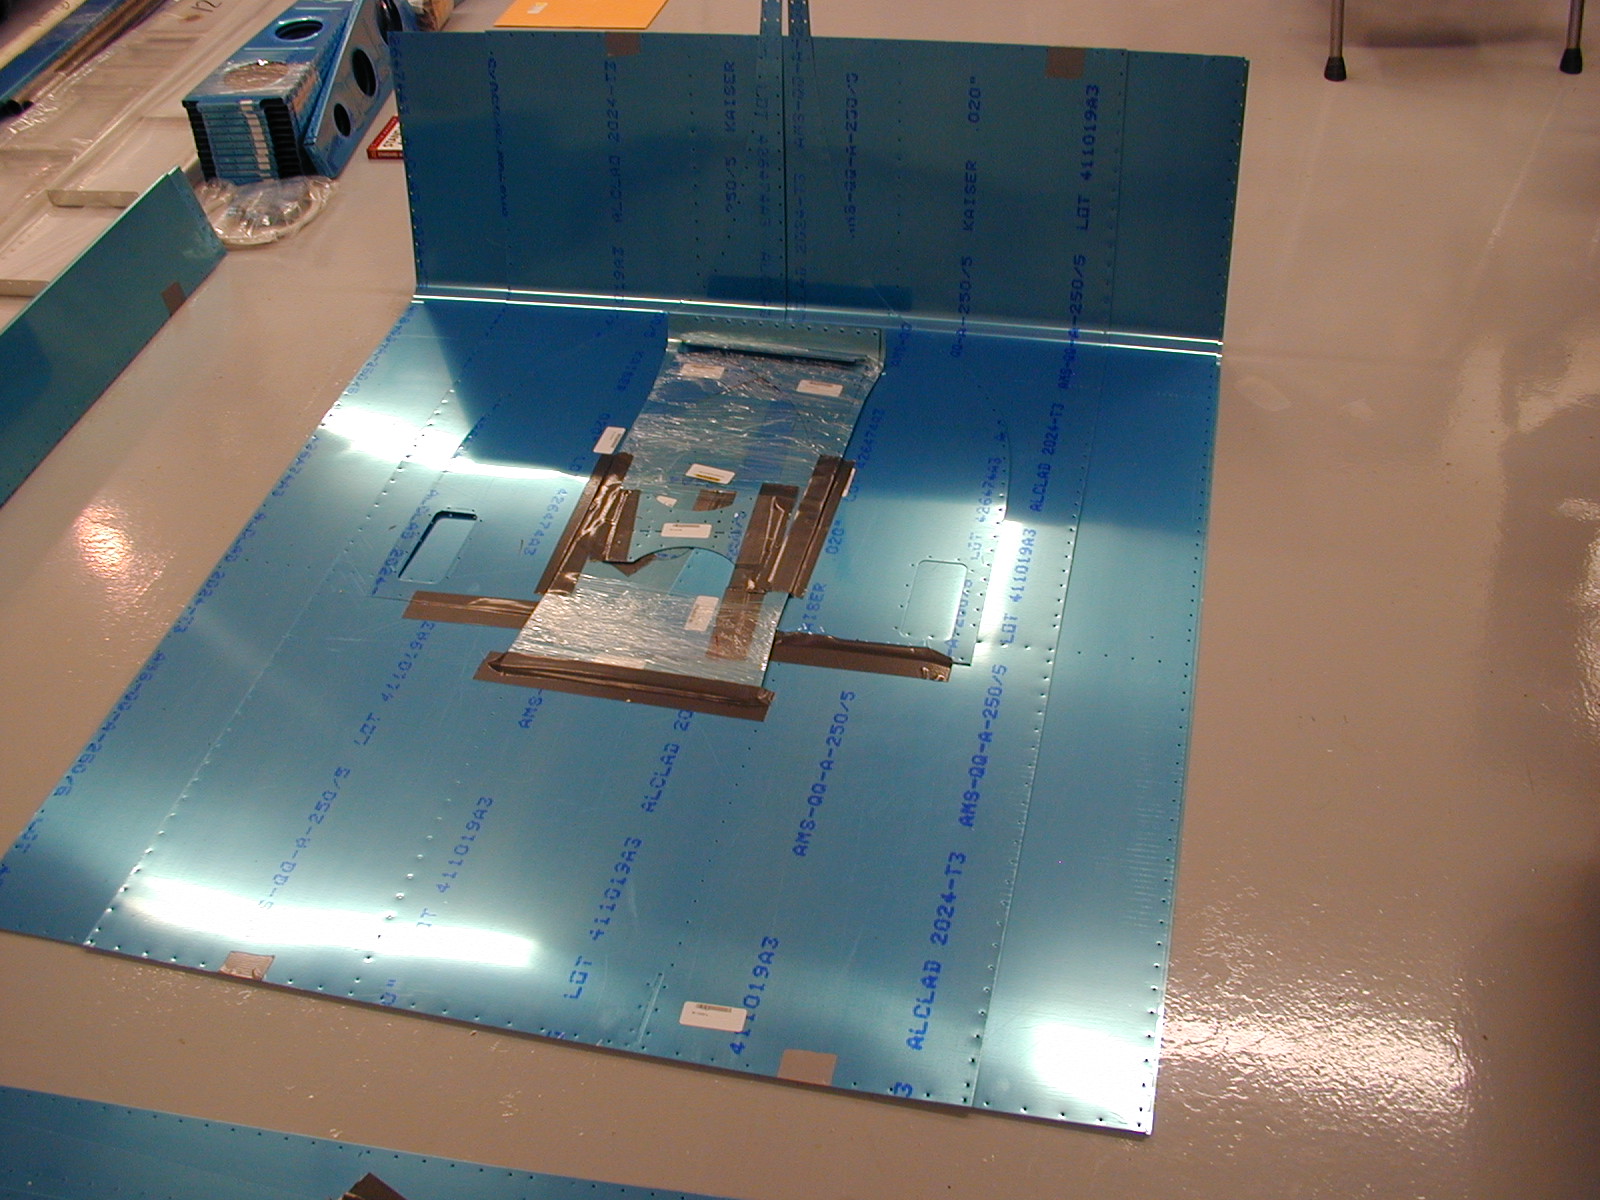
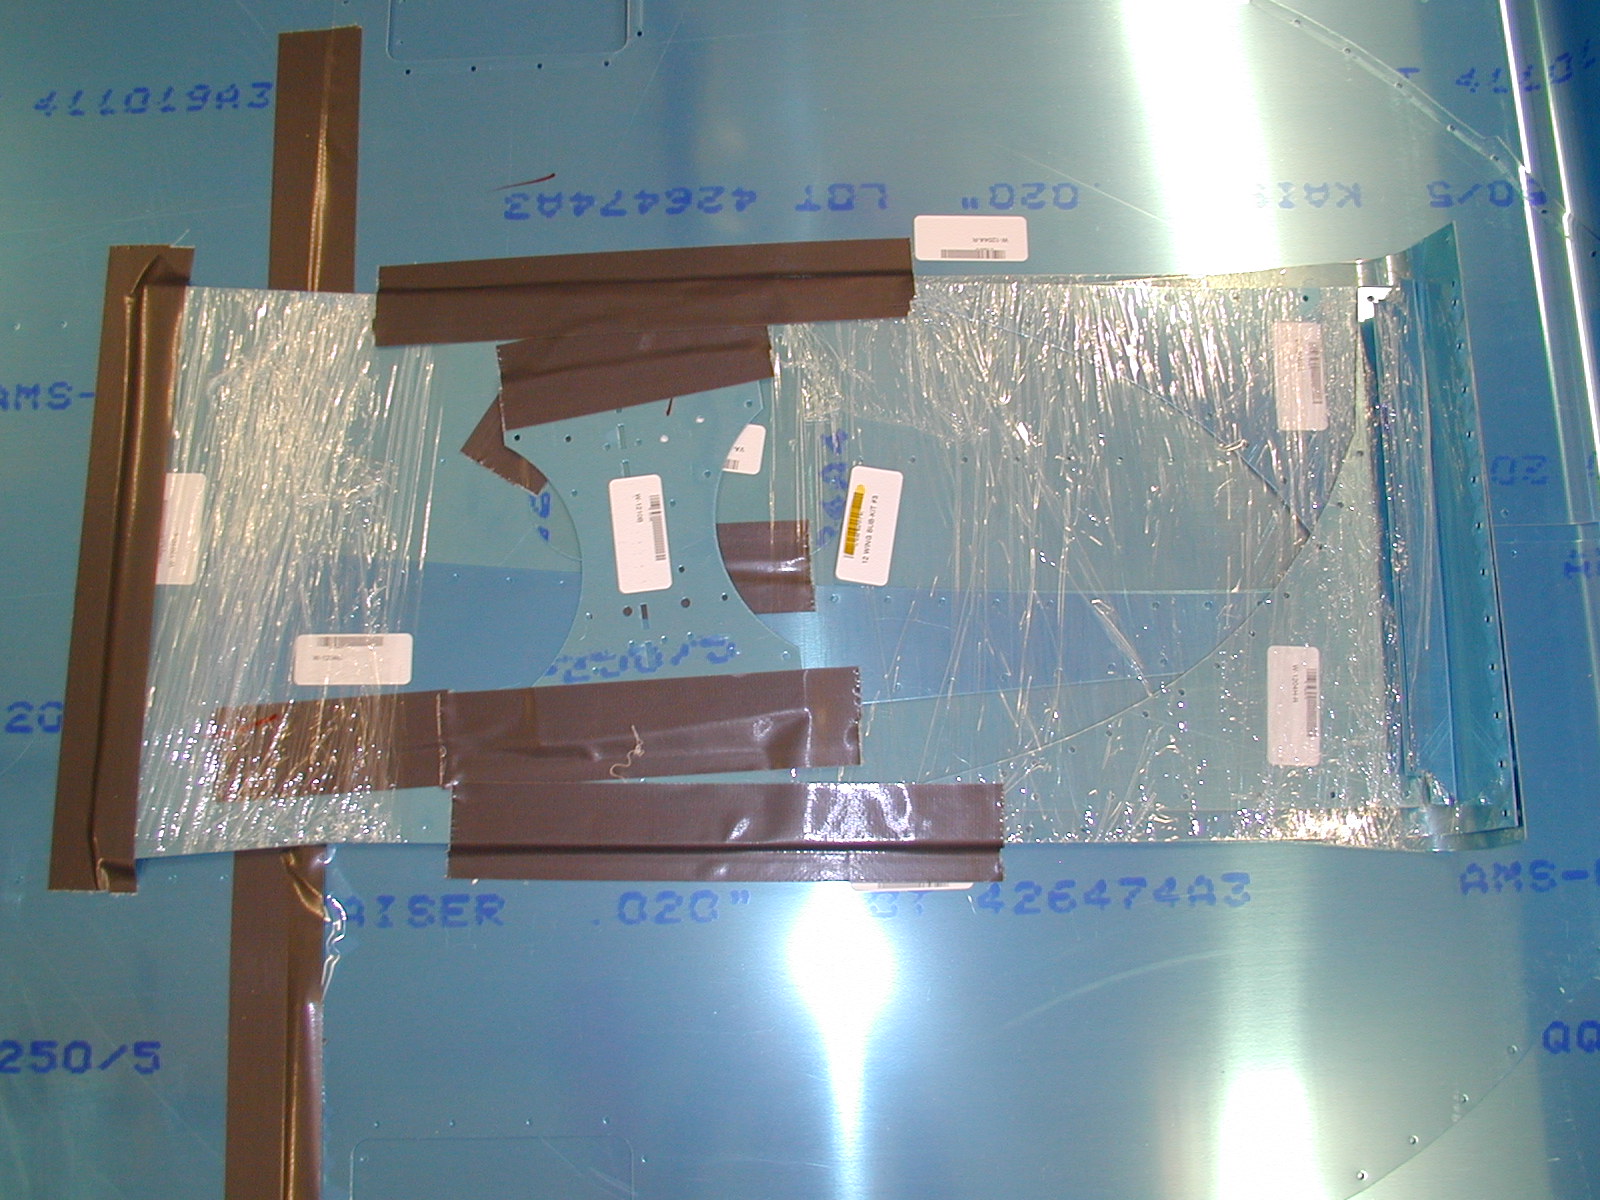
Following pictures were taken Aug 7 2008 of the right wing.
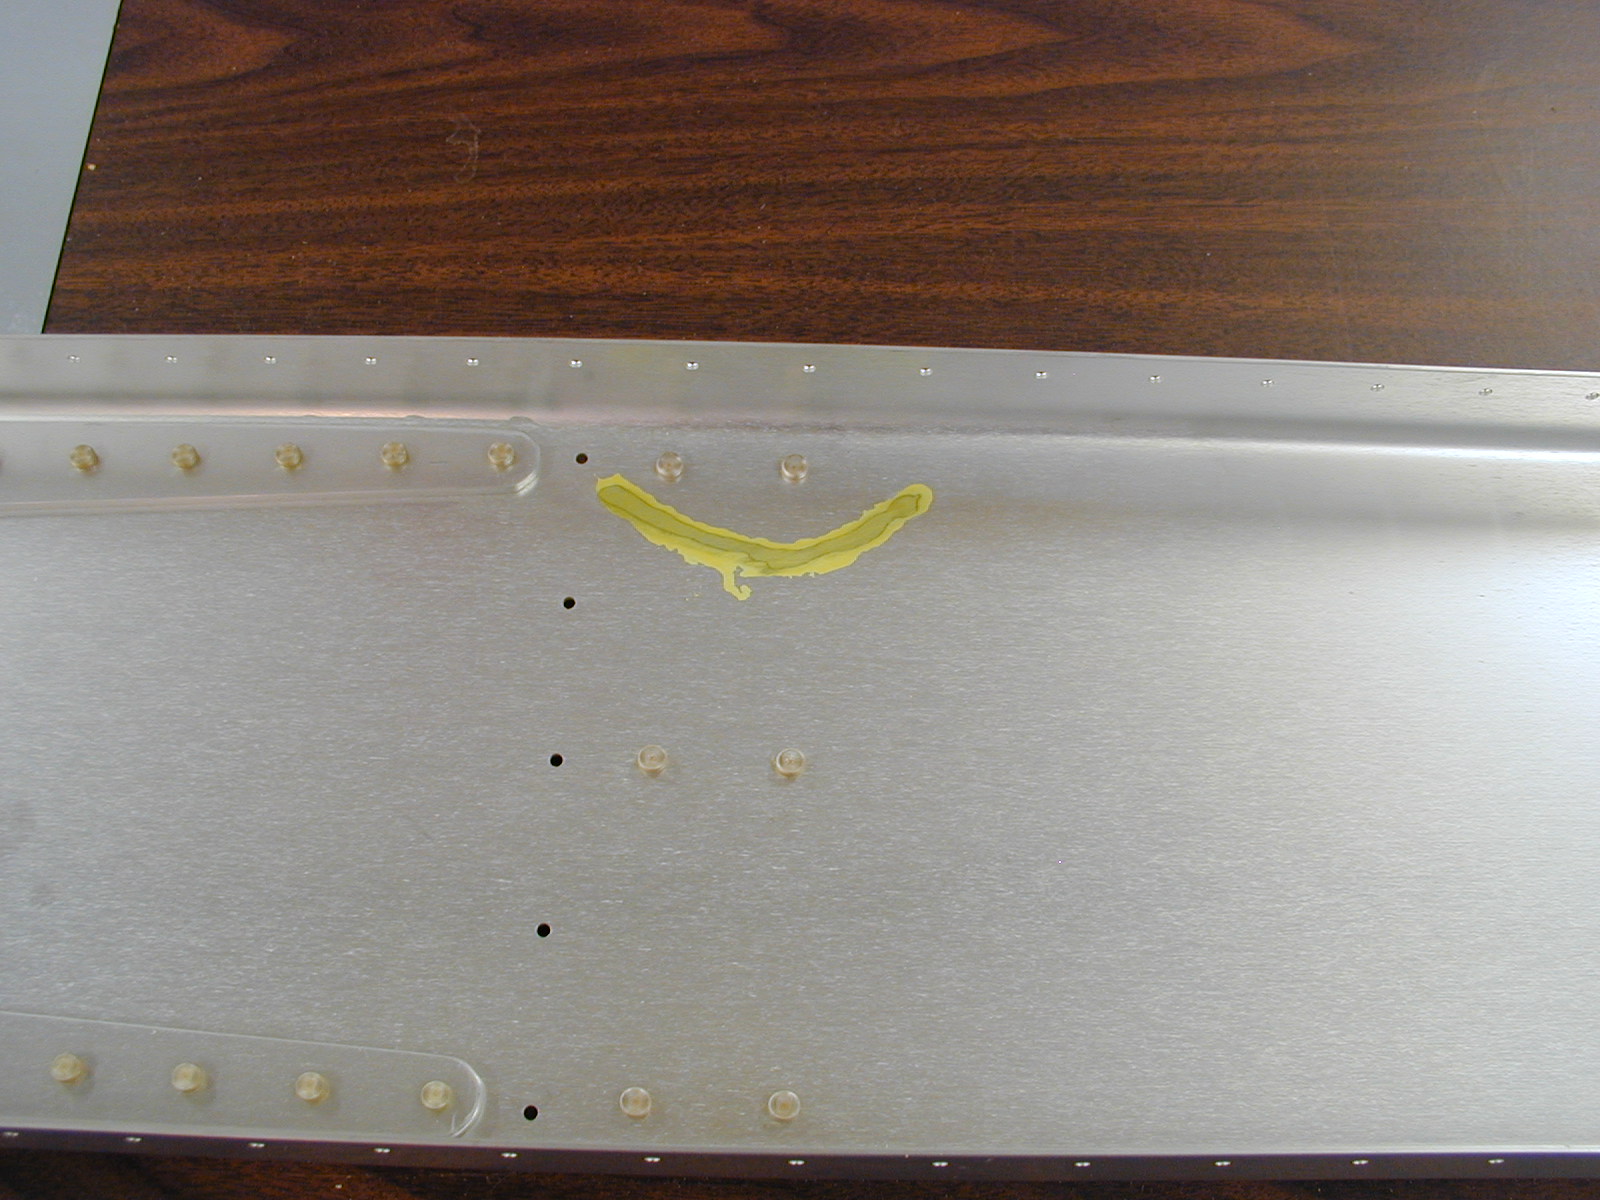
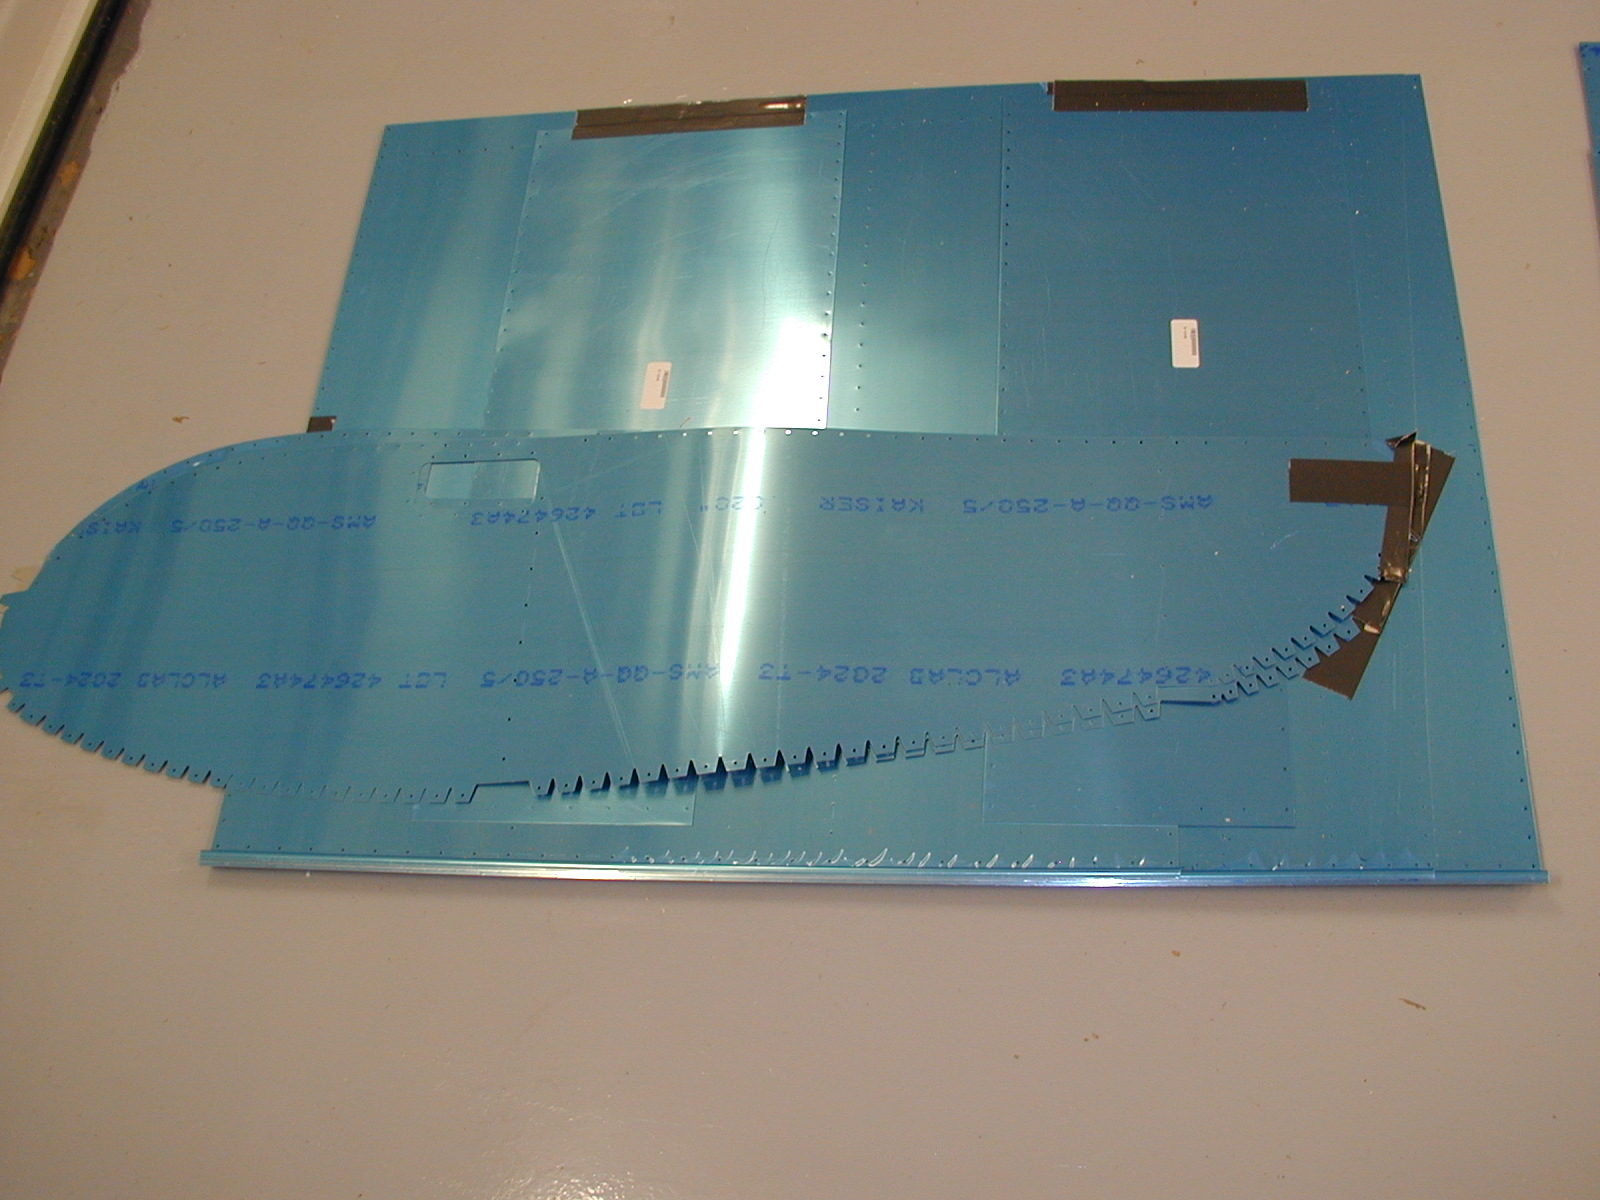
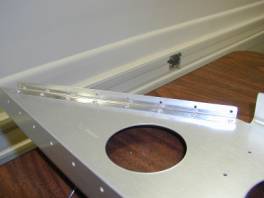
Riveting the wing step (first photo, clecos nearest you) and the top leading edge will finish up the main wing skins. Then the wing tip (second photo) will have to have some small wing skins riveted on. After that I will start the left wing.
Notice the sleeping bags under the wings. They prevent scratches in the wing skins.
Also, the second photo shows masking tape along the edge of the wing skin. This helps remind me that I don't rivet these holes yet. They are riveted during the wing tip assembly. Don't ask me why I do this :-)
Finally, the orange tape helps keep clumsy people from bumping into the wing :-(
----------------------------------------------------------------------------------------------------------------------------------------------------------------
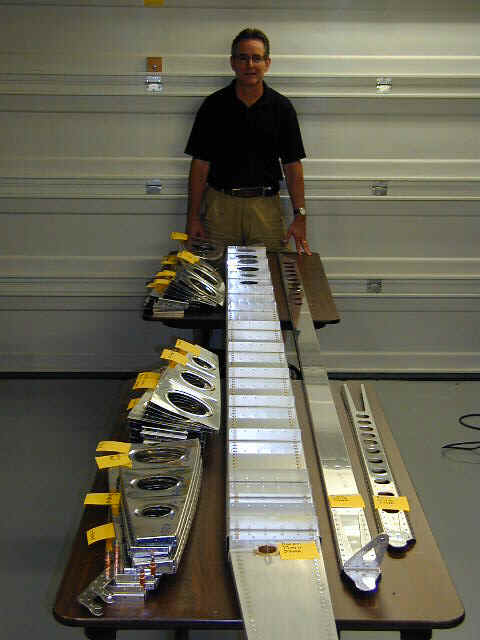
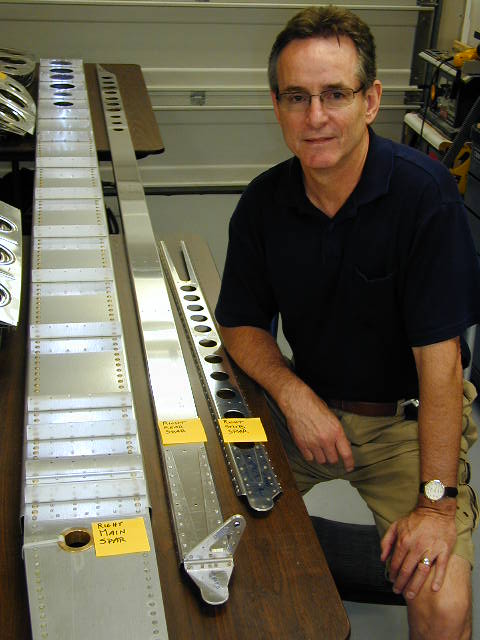
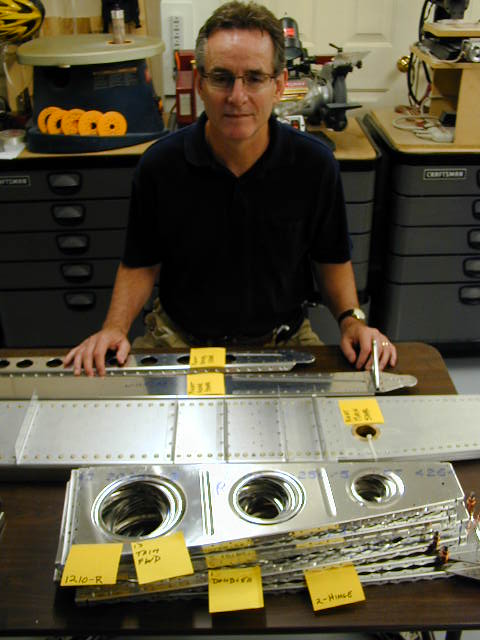
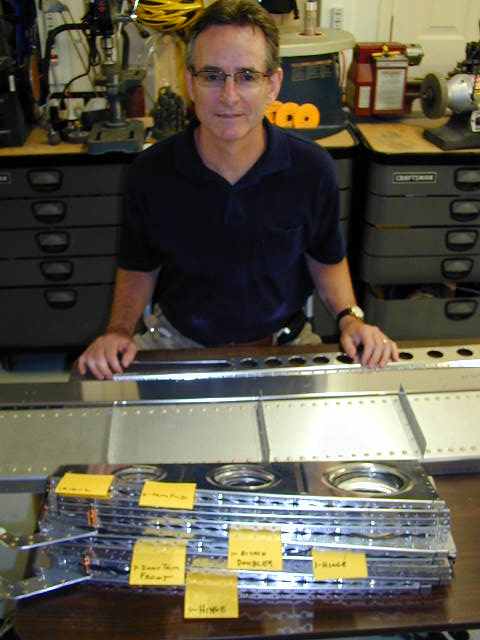
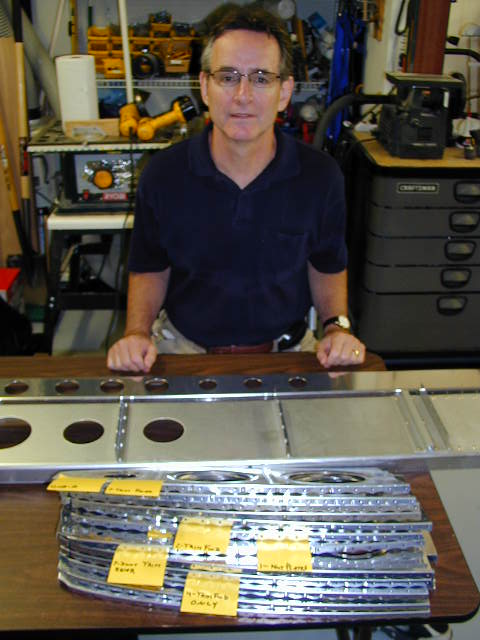
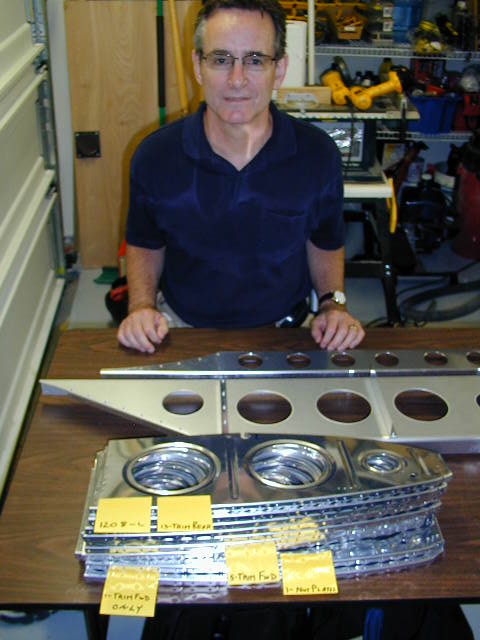
July 26, 2008
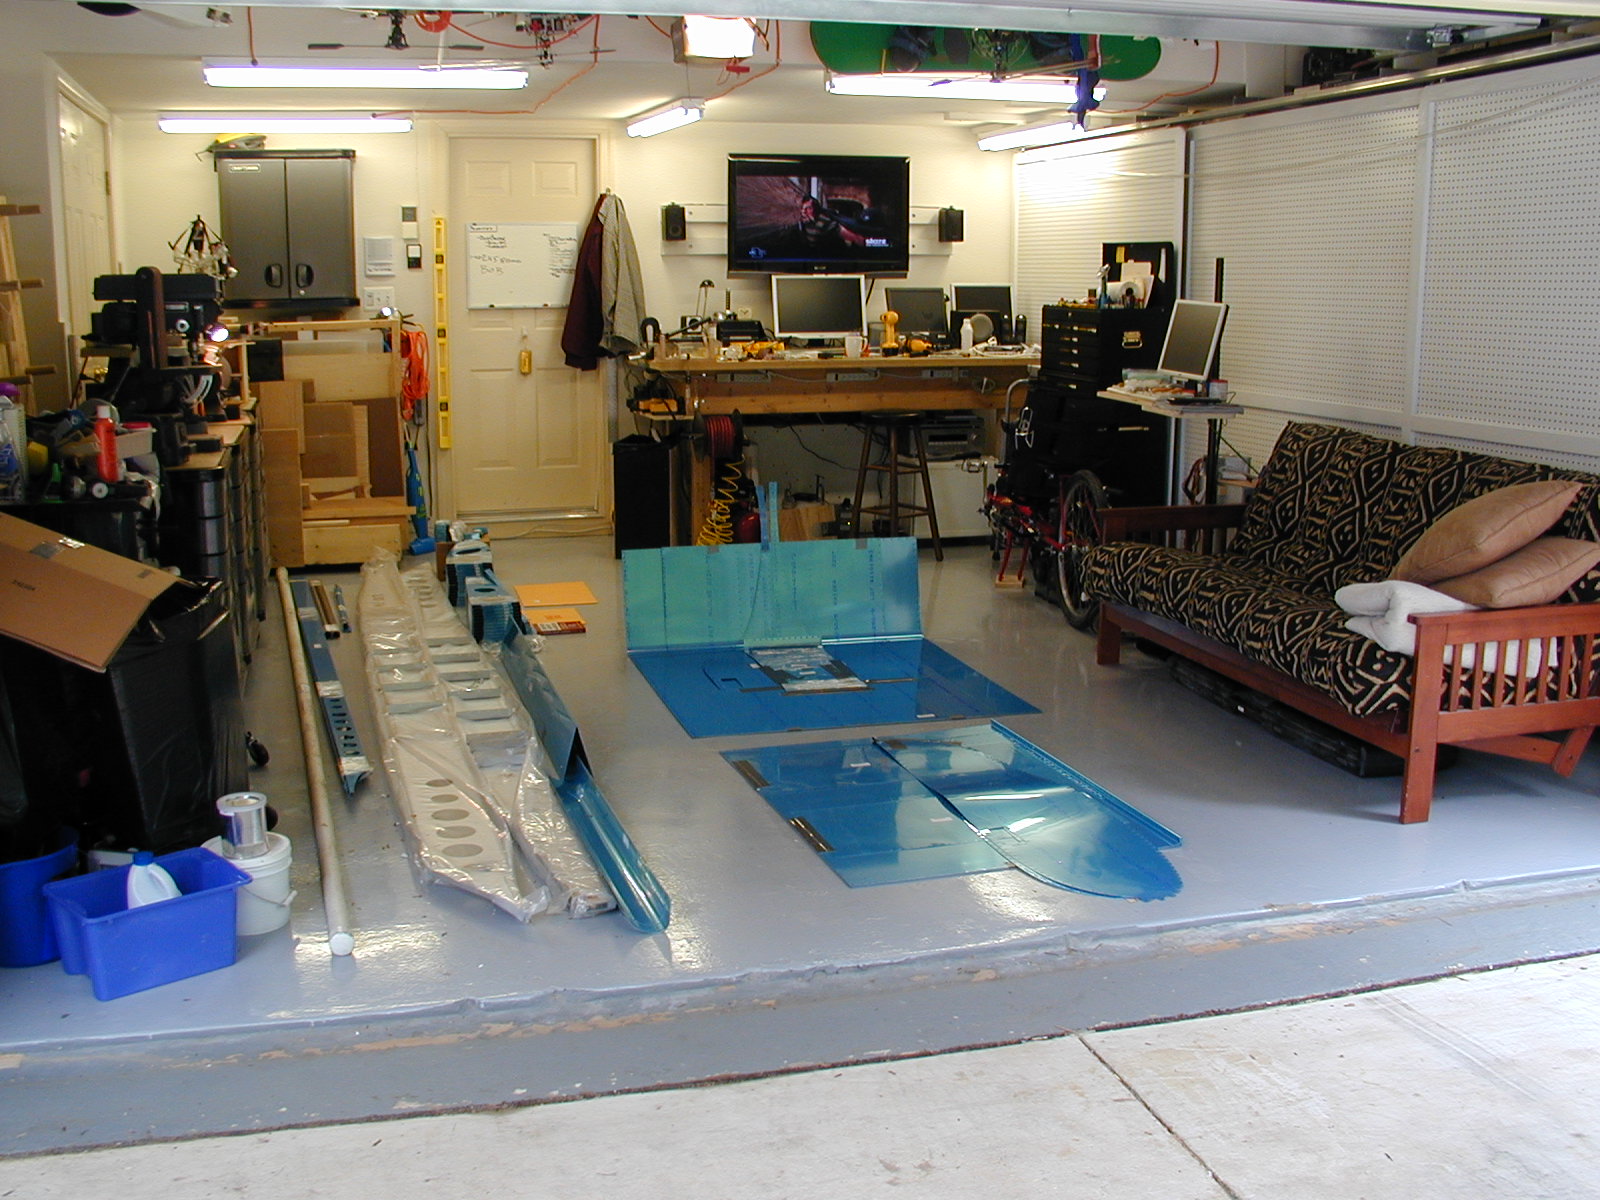
This is my pile of wing parts that I deburred and fluted. Next I will begin riveting them together.
Note: The wing parts are for the right wing, except for the ribs. I have included the ribs for both the right and left wing.
----------------------------------------------------------------------------------------------------------------------------------------------------------------
Rib fluting was a new experience and I was troubled by the long learning curve. I finally developed an easy system to do the fluting. I uploaded a video to YouTube for you to watch:
http://www.youtube.com/watch?v=jqNoVAQLo0M
---------------------------------------------------------------------------------------------------------------------------------------------------------------
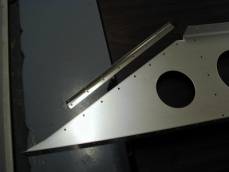
Ugly yellow green spot on my brand new spar??????
What is it?
I contacted Van's and they said not to worry. The spar manufacture occasionally "nicks" the anodizing and then they use a primer to repair the nick.
----------------------------------------------------------------------------------------------------------------------------------------------------------------
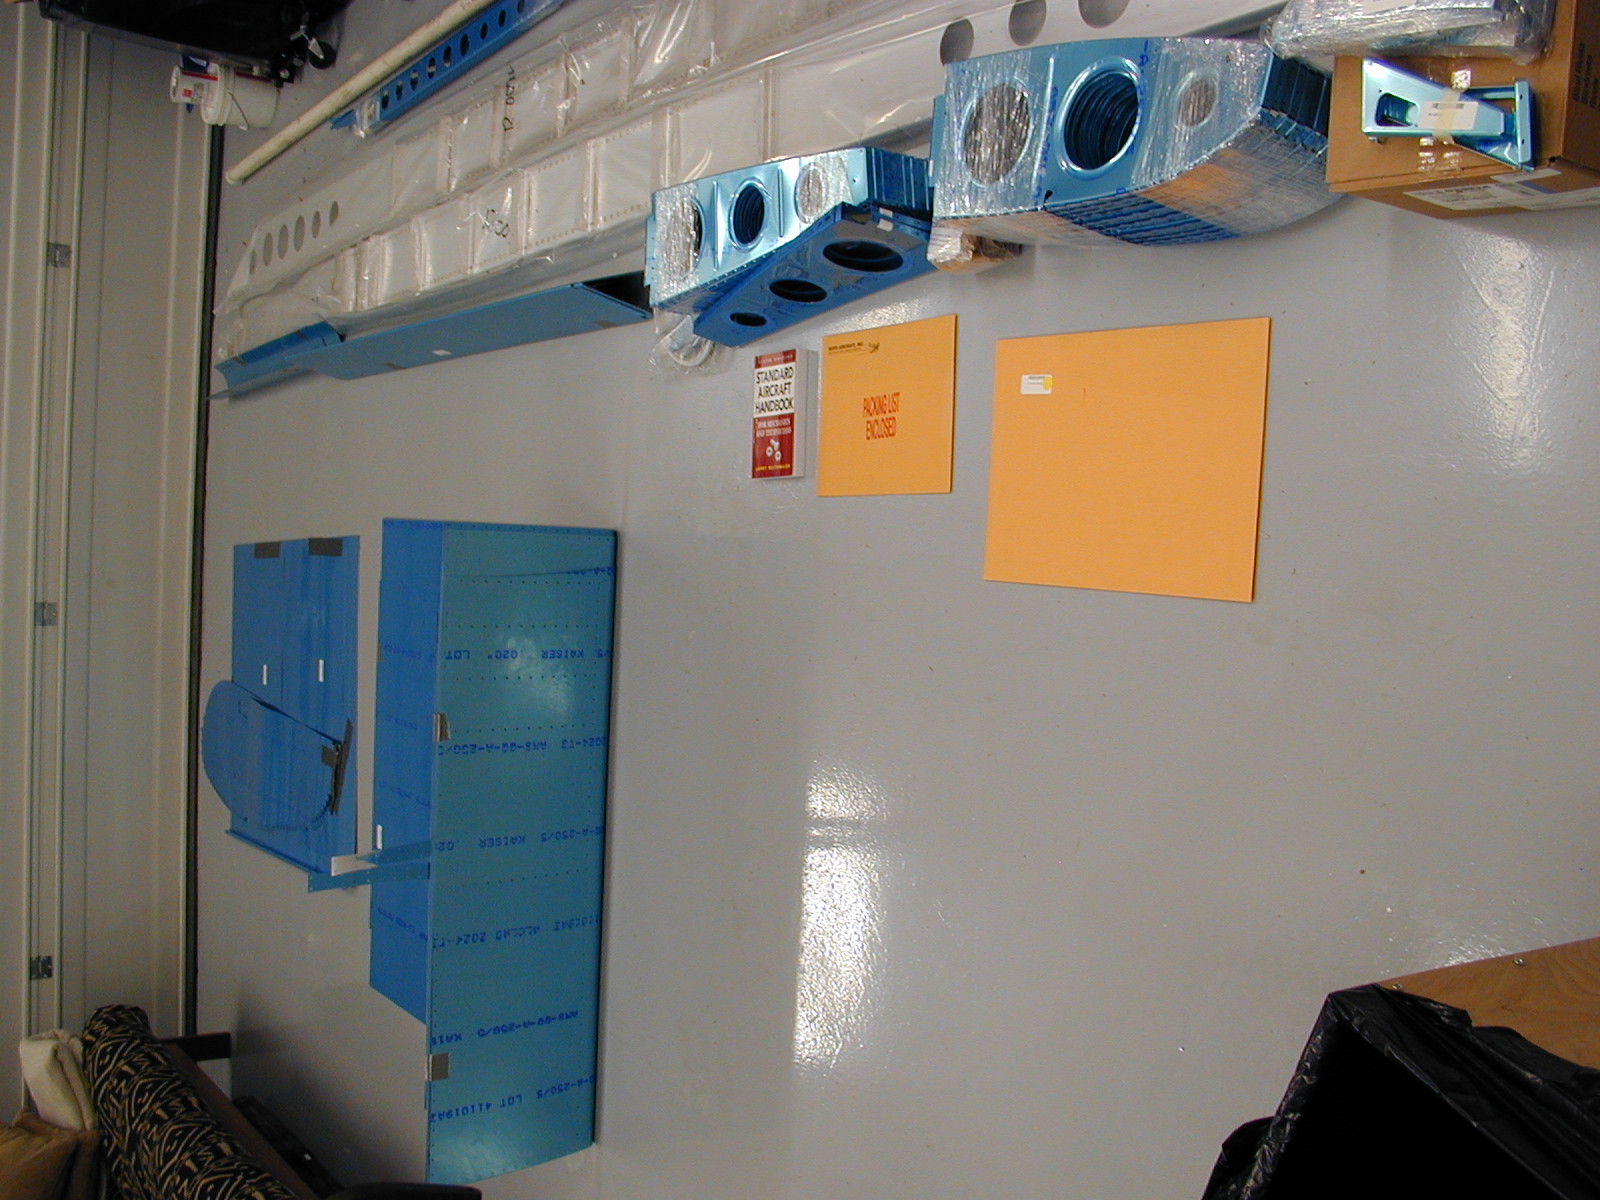
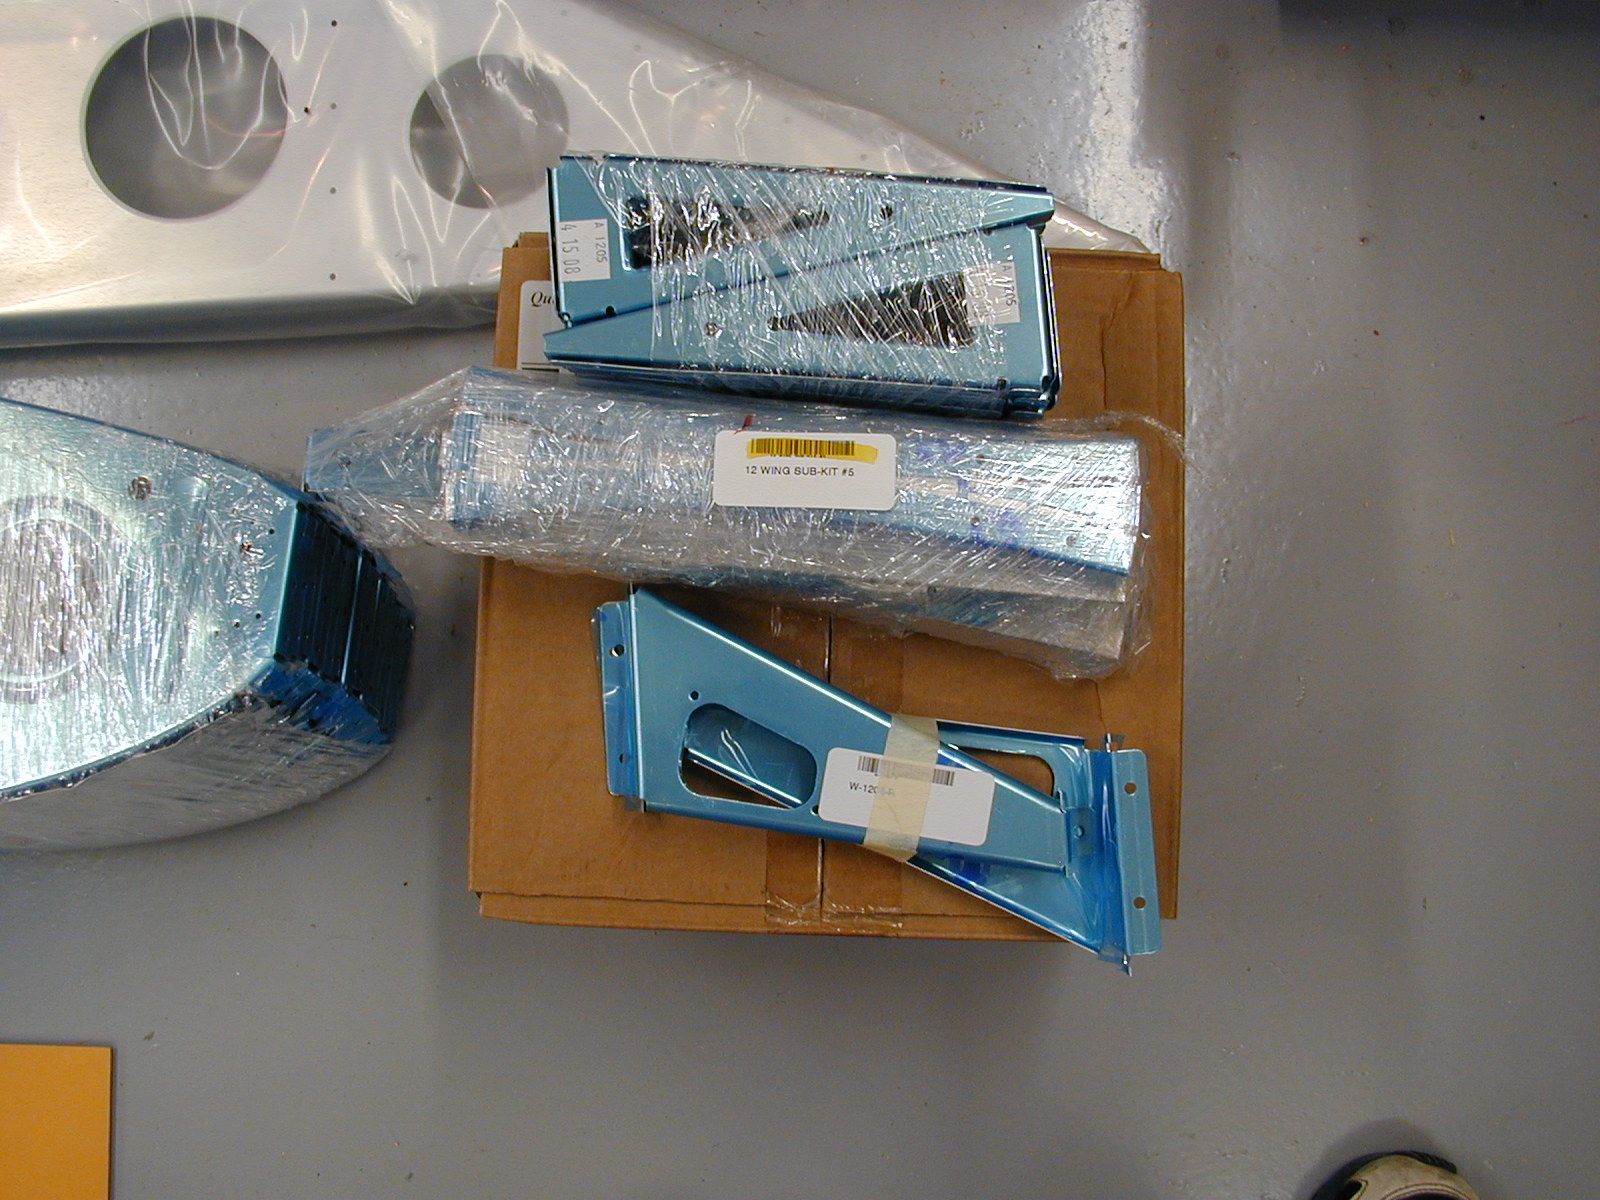
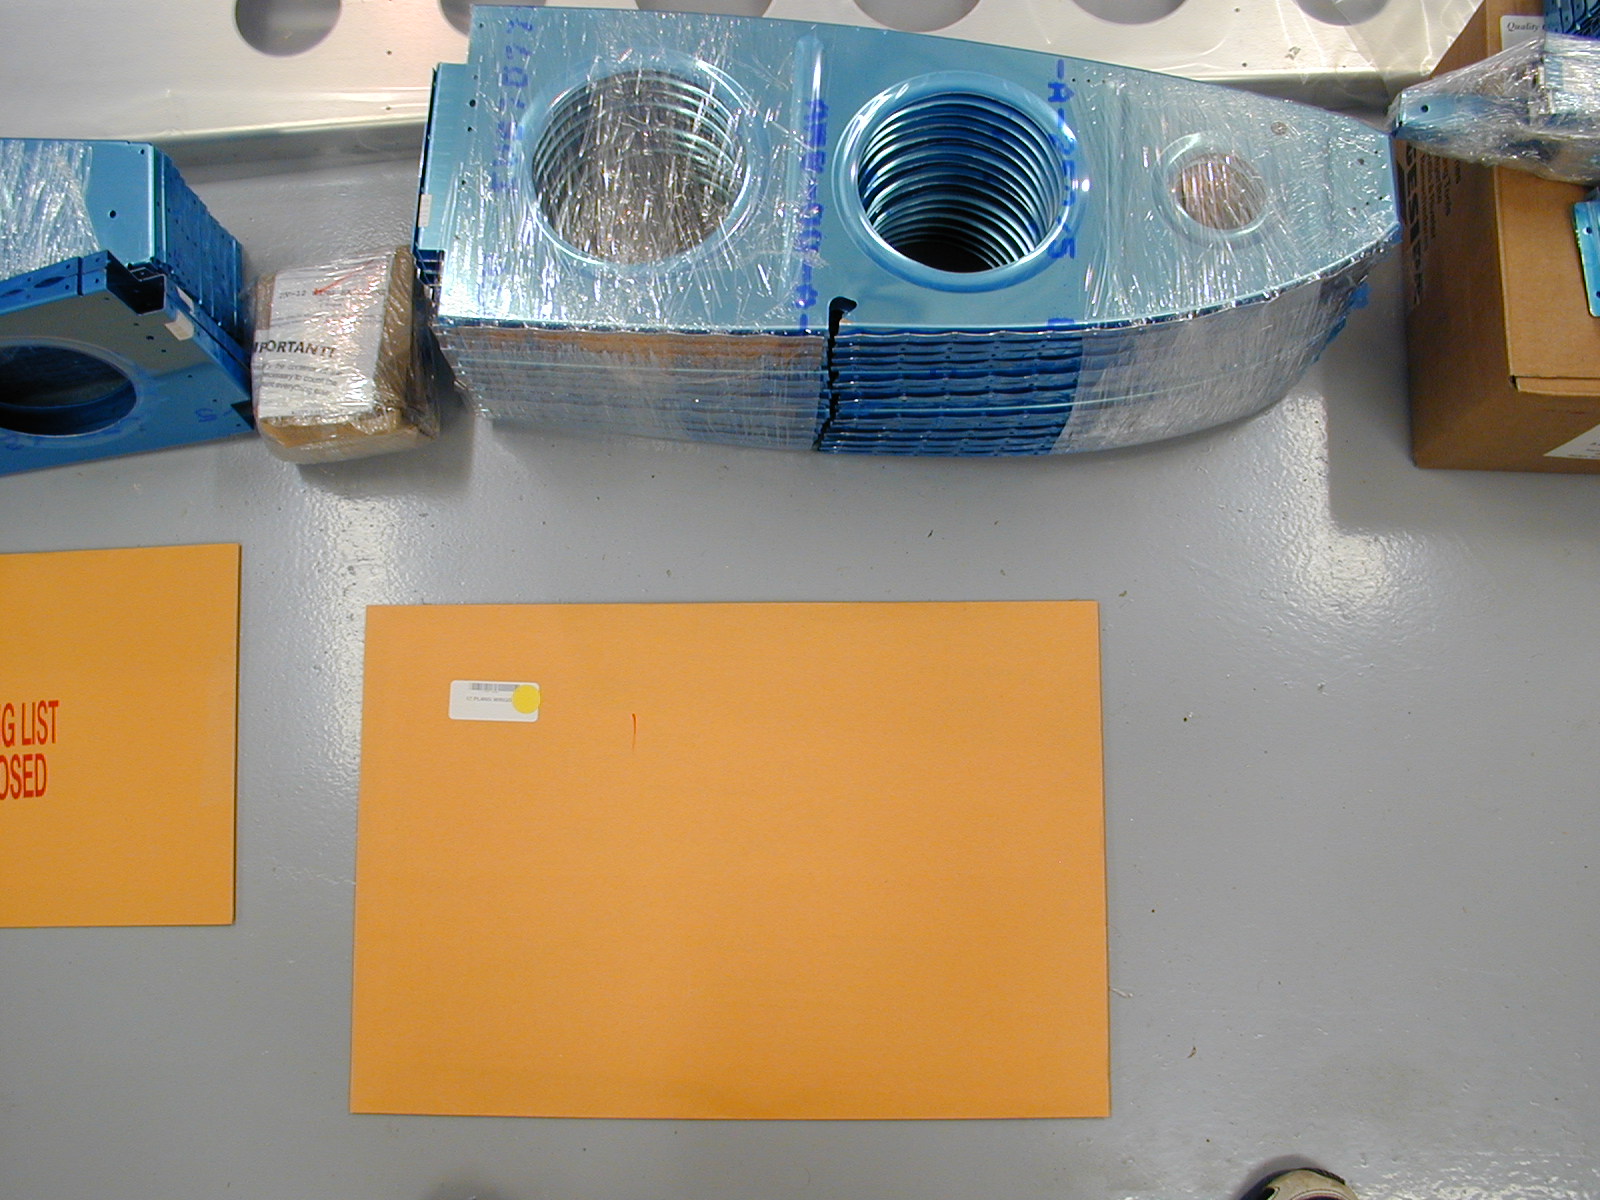
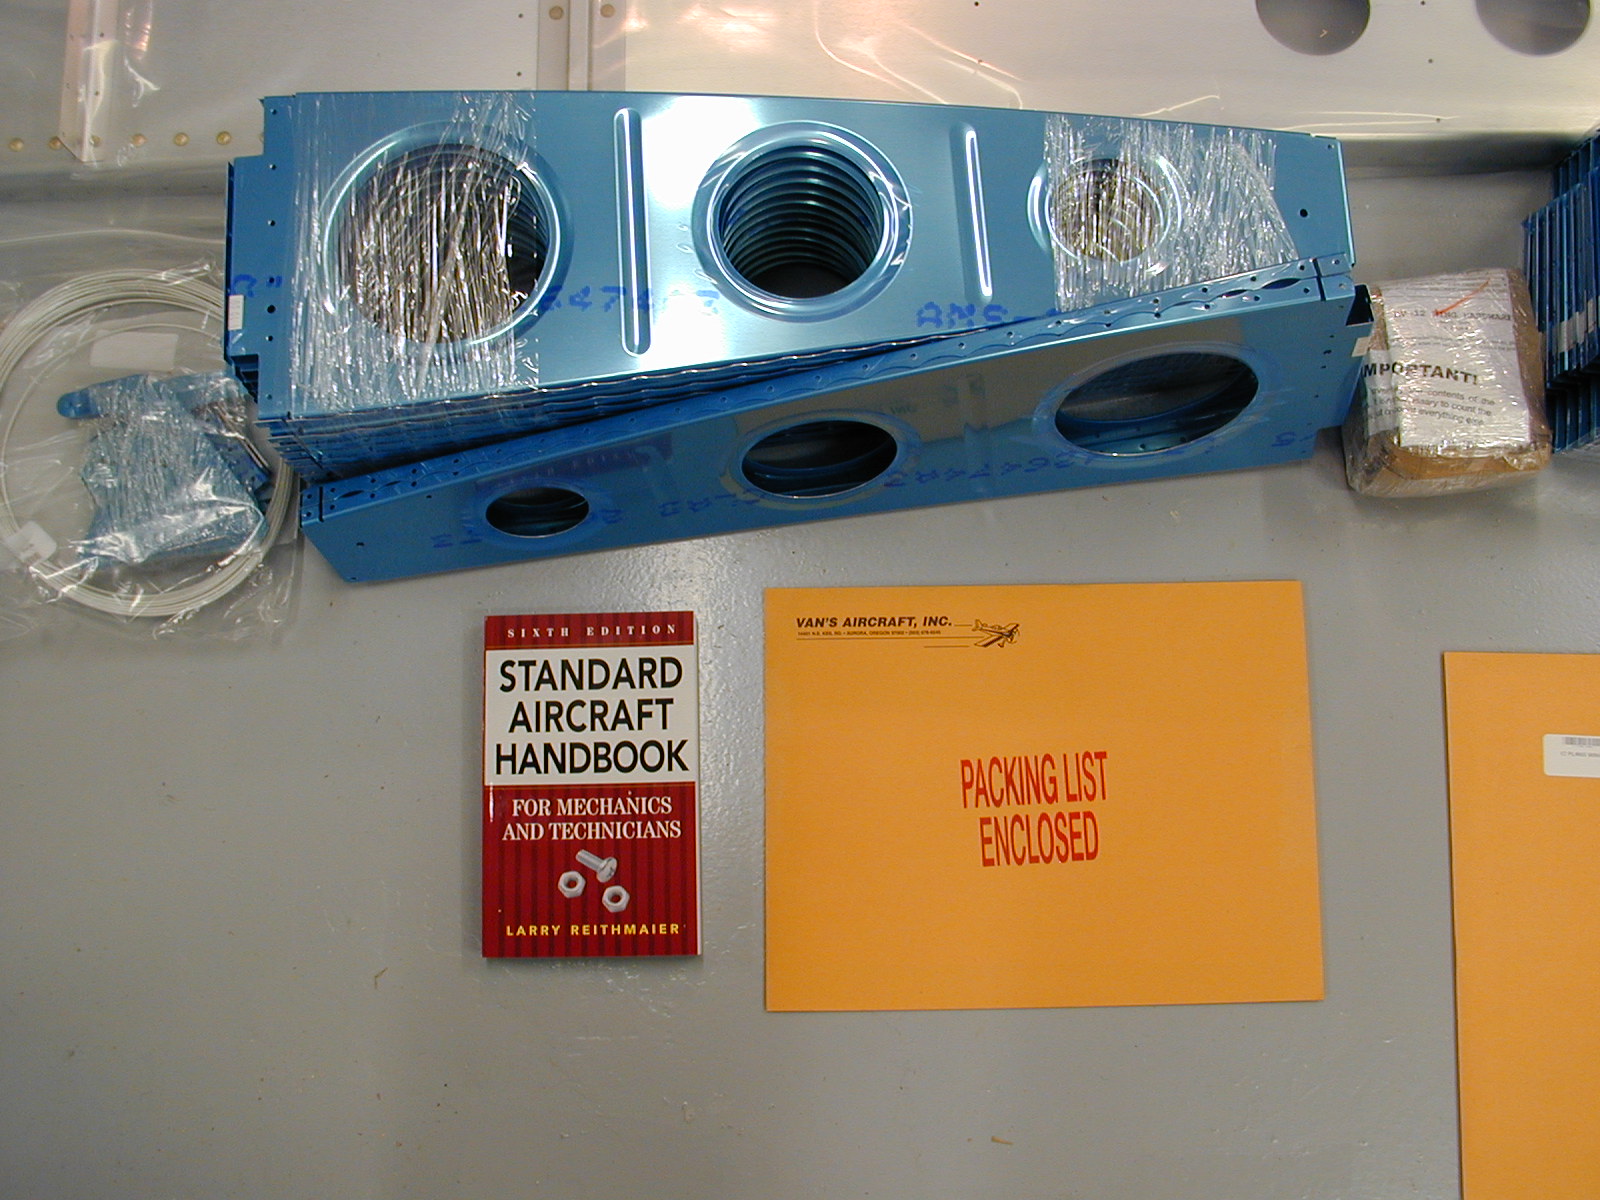
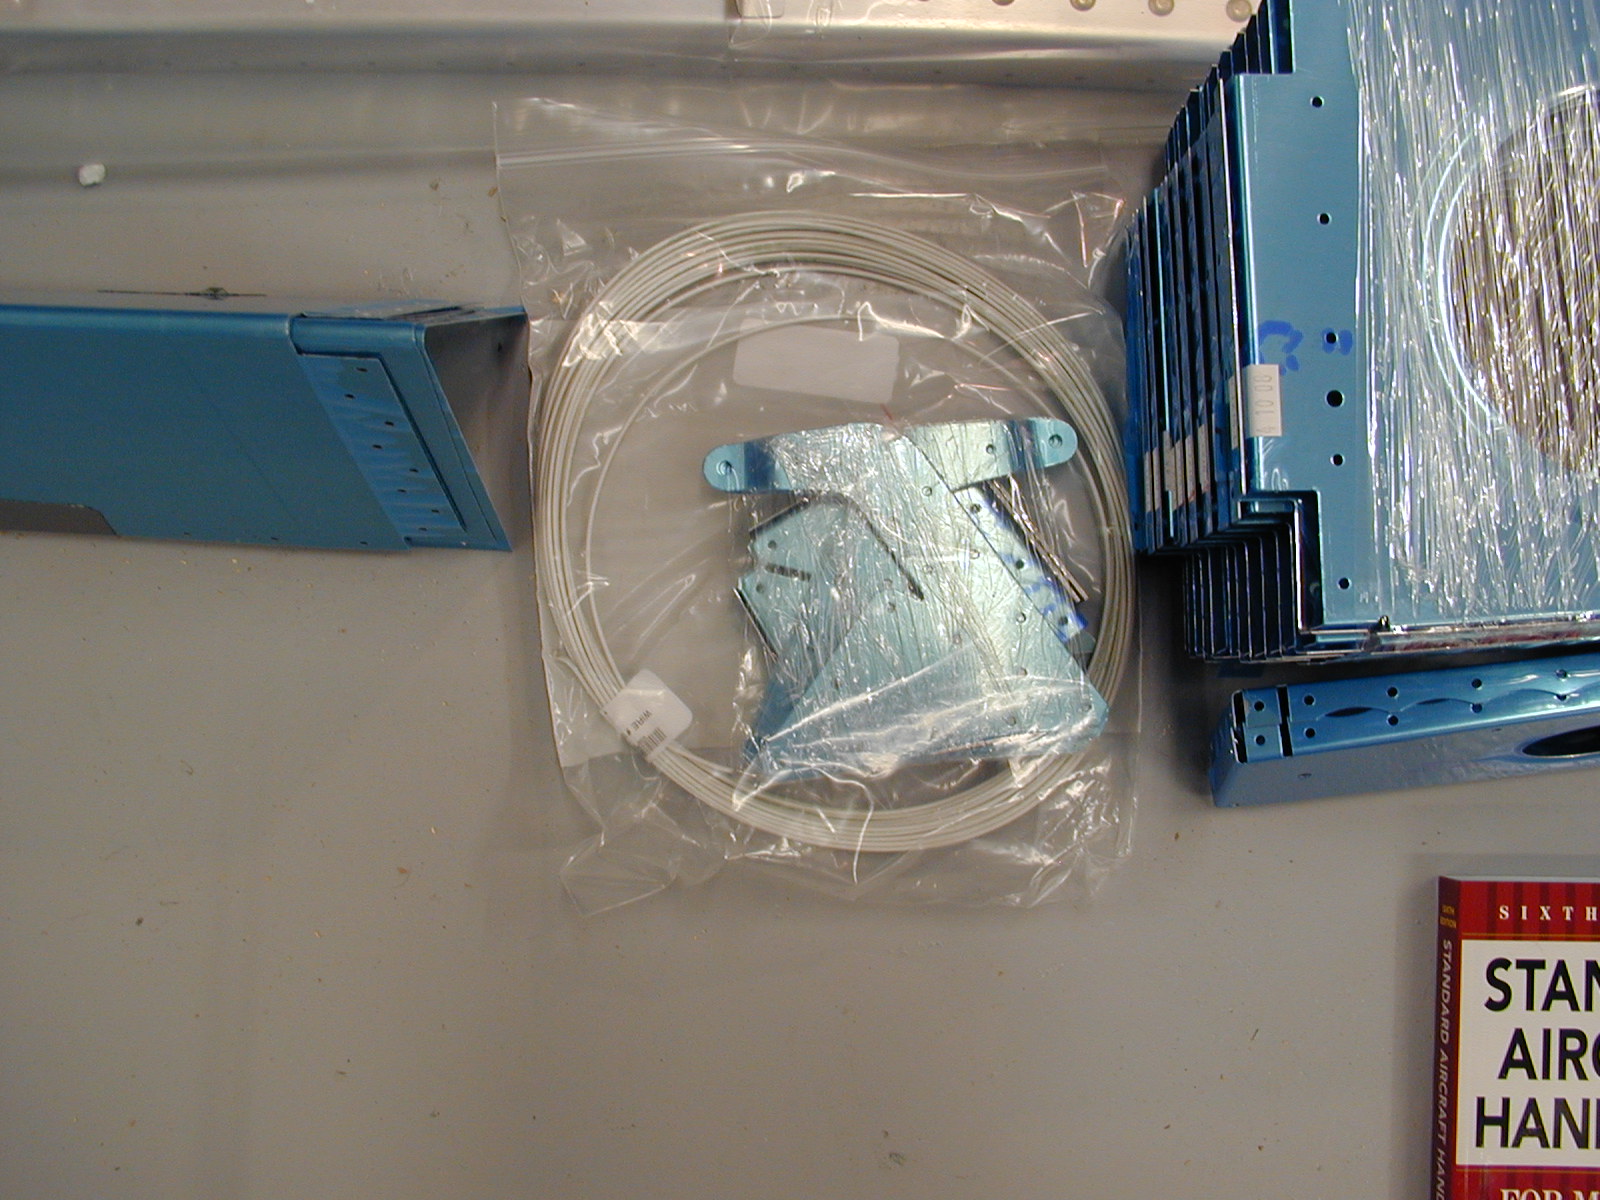
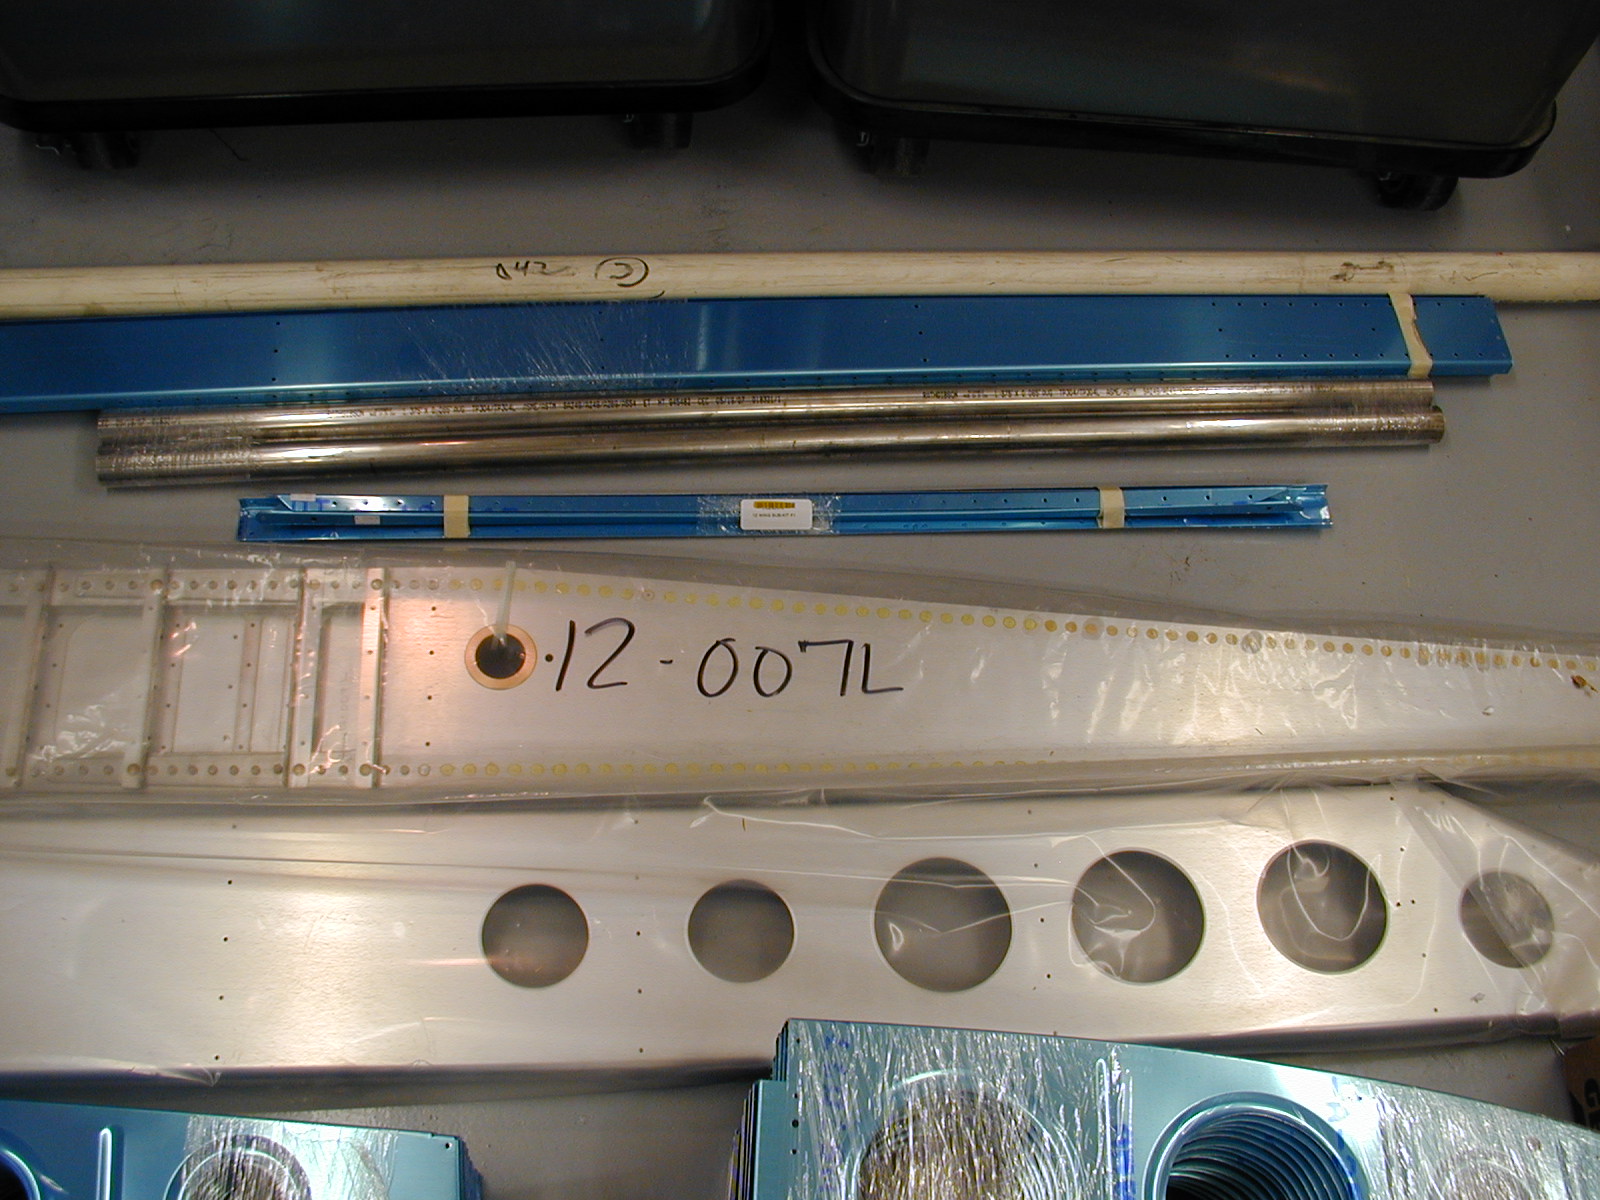
May 22, 2008
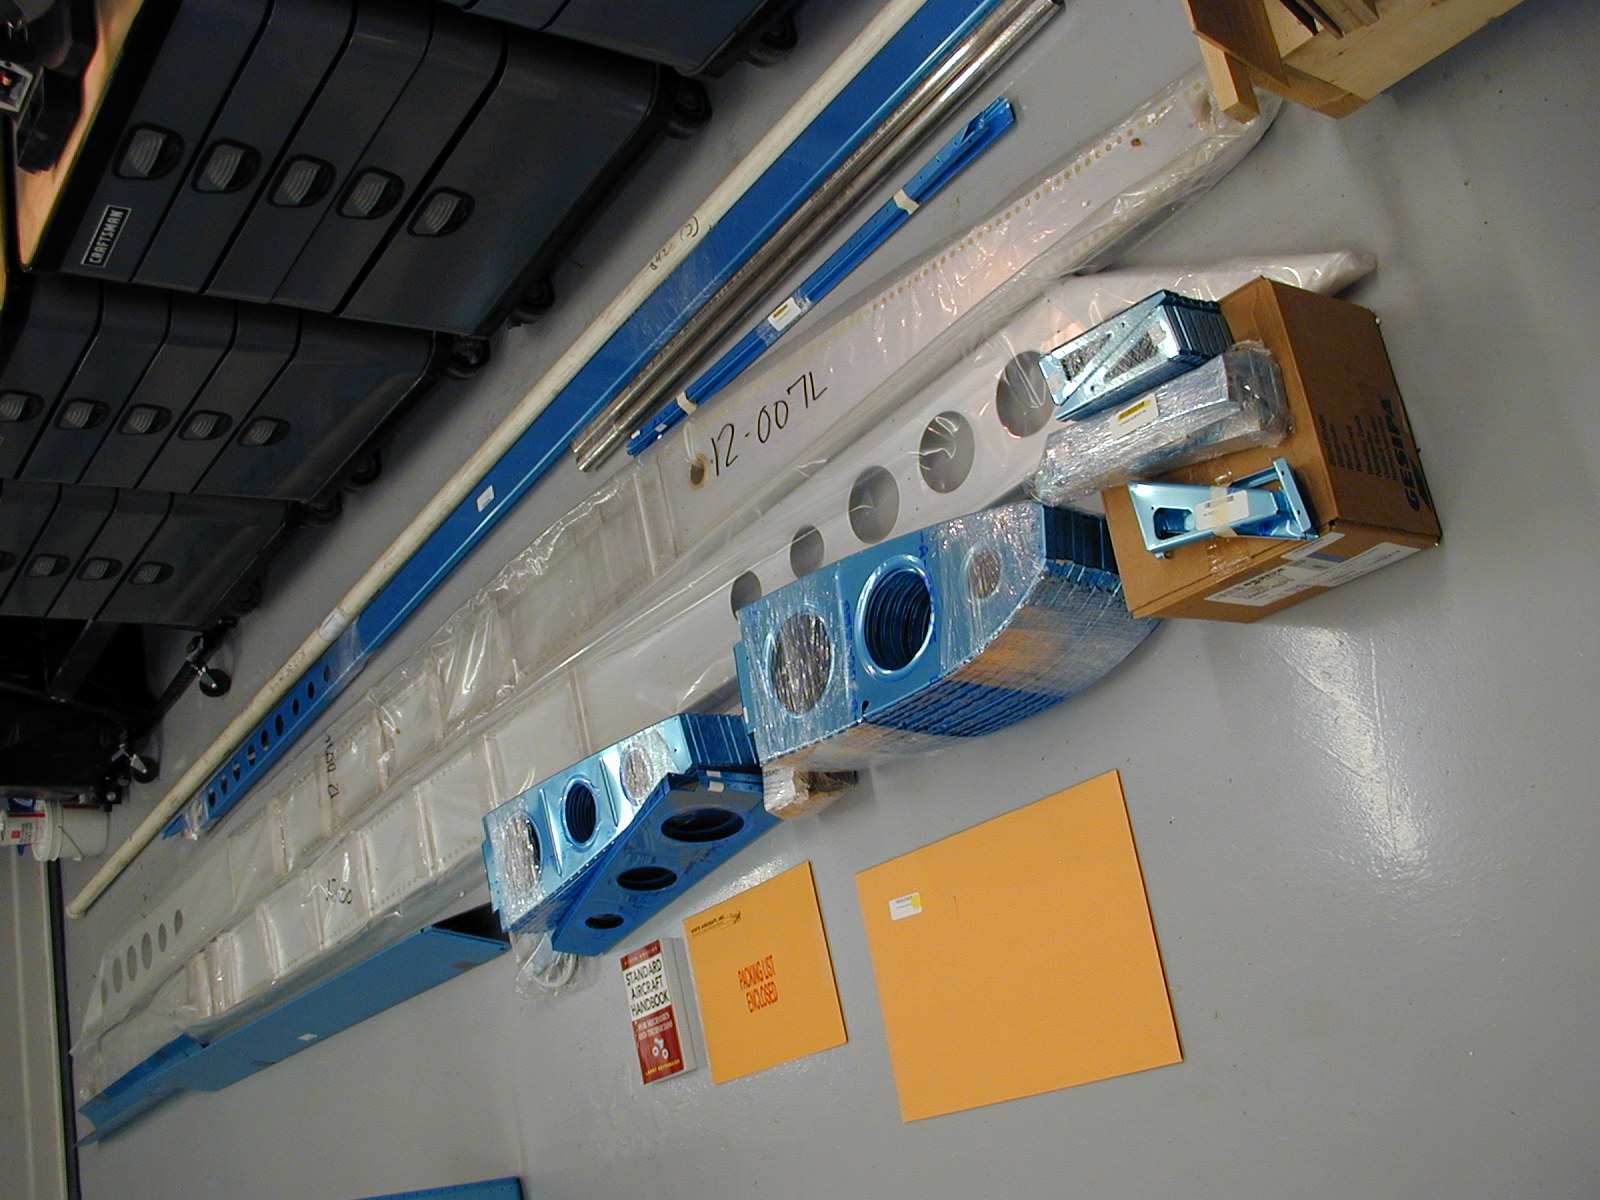
These pictures were taken after I unpacked my wing kit
--------------------------------------------------------------------------------------------------------------------------------------------------------------
May 21, 2008
I ordered my wing kit early on the morning of April 7th, 2008 (first day of Sun-N-Fun). I received it on May 21, 2008. All the parts were there, nicely packed, and no shipping damaged. I immediately unpacked it, sorted the parts, and then inventoried the parts to be sure there were no missing pieces. The only thing I did not count was the rivets (box of 10,000) :-)
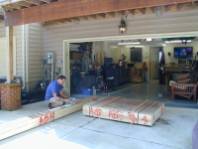
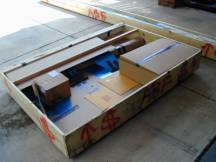

ABF delivering crates One small, one long crate Pop the top of the crates The parts fill the garage floor
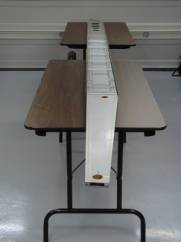
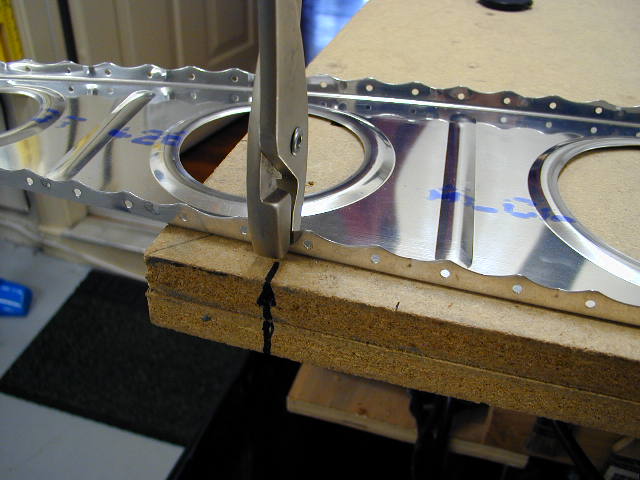
Main Spar, right wing First piece to be riveted
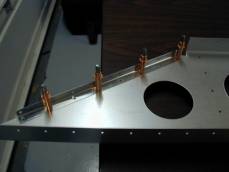
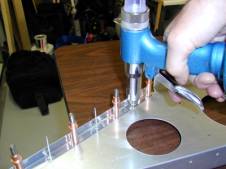
Clecos hold the part steady Rivets, air tool makes it real easy
Eight rivets down, 9,992 more to go!
----------------------------------------------------------------------------------------------------------------------------------------------------------------------